CNC Router Table
Precision computer-controlled router capable of milling wood, plastic, & aluminum.
Time frame: June, 2020 - Present
After a few years’ experience with a commercial CNC router in my high school robotics shop (a Laguna for those know!), and some more with the vast array of Haas CNC mills at my university, I decided to challenge myself in building a precise and cost-effective CNC router during quarantine 2020.
Design
I am following the open-source platform from V1 Engineering - the Mostly Printed CNC (MPCNC) I decided on a build volume of 24” x 18” x 3” which is comparatively small to the 4’ x 8’ capability of my high school robotics machine, however definitely not needed for the parts I intend to mill. Having a small build volume is important for this design as it utilizes 3D printed components and mild-steel tubing as rails. A machine too large will encounter more vibration, inaccuracy, and begin to meet the rigidity limits of the tubing and plastic. As detailed on the V1 Engineering website, using EMT conduit - normally used for routing electrical wiring in houses and buildings - keeps the costs low, as opposed to the traditional linear rails on a professional machine. A nice upgrade that I wanted to do was to swap in the EMT conduit for some stainless steel tubing, but I couldn’t find a local supplier that wasn’t super expensive. The stainless steel would provide more rigidity and look nicer. Oh well.
Here’s what the CNC Router will look similar to:

Note: Throughout the course of the build, a new and improved version of the design was published. Bummer. I was in too deep at this point, so I continued with the last-gen version.
3D Printing
I purchased the components individually (self-sourced) earlier in June and began 3D printing the parts. The dimensional accuracy and structural integrity of these printed parts are pretty important to having a precise machine. I encountered some difficulty with under-extrusion on my 3D printer, which was frustrating since I had about a year of problem-free printing prior to this project. I managed to get all of the parts printed in PLA, using a little over 1.5 kg. Oddly enough, I encountered another 3D printing issue regarding the smoothness of the curved surfaces:

During these curves, I would notice my printer “stuttering” and moving extremely slowly over the area, which was uncharacteristic of the printer. I looked into this issue for a little bit - it turned out to be related to the way Octoprint interfaces with the 3D printer’s mainboard in sending the serial data. I suppose the G-Code for the curves tend to overload the serial buffer thus the stuttering. This issue was solved by printing with the traditional method of using a microSD card straight into the mainboard.
Assembly
After 240+ hours of printing (not including failed prints) I was ready to assemble. I had previously cut all of the steel conduit to length while waiting for the prints. First, I needed a table for this CNC to go on. I put together a simple and rigid work table from 2” x 4” lumber and a sheet of MDF on top to act as the work surface and spoilboard. Sheet goods (4’ x 8’) are always hard for me to acquire as I do not have a truck, and need to get them cut in half at my local home improvement store before they can fit in my car. I had the opportunity to use my new jobsite table saw to further size the sheets of MDF. Once mounted, I also partially cut two lines a few inches away from the edge, so the middle section is replaceable when it inevitably gets mangled, and I don’t have to disassemble my CNC machine.
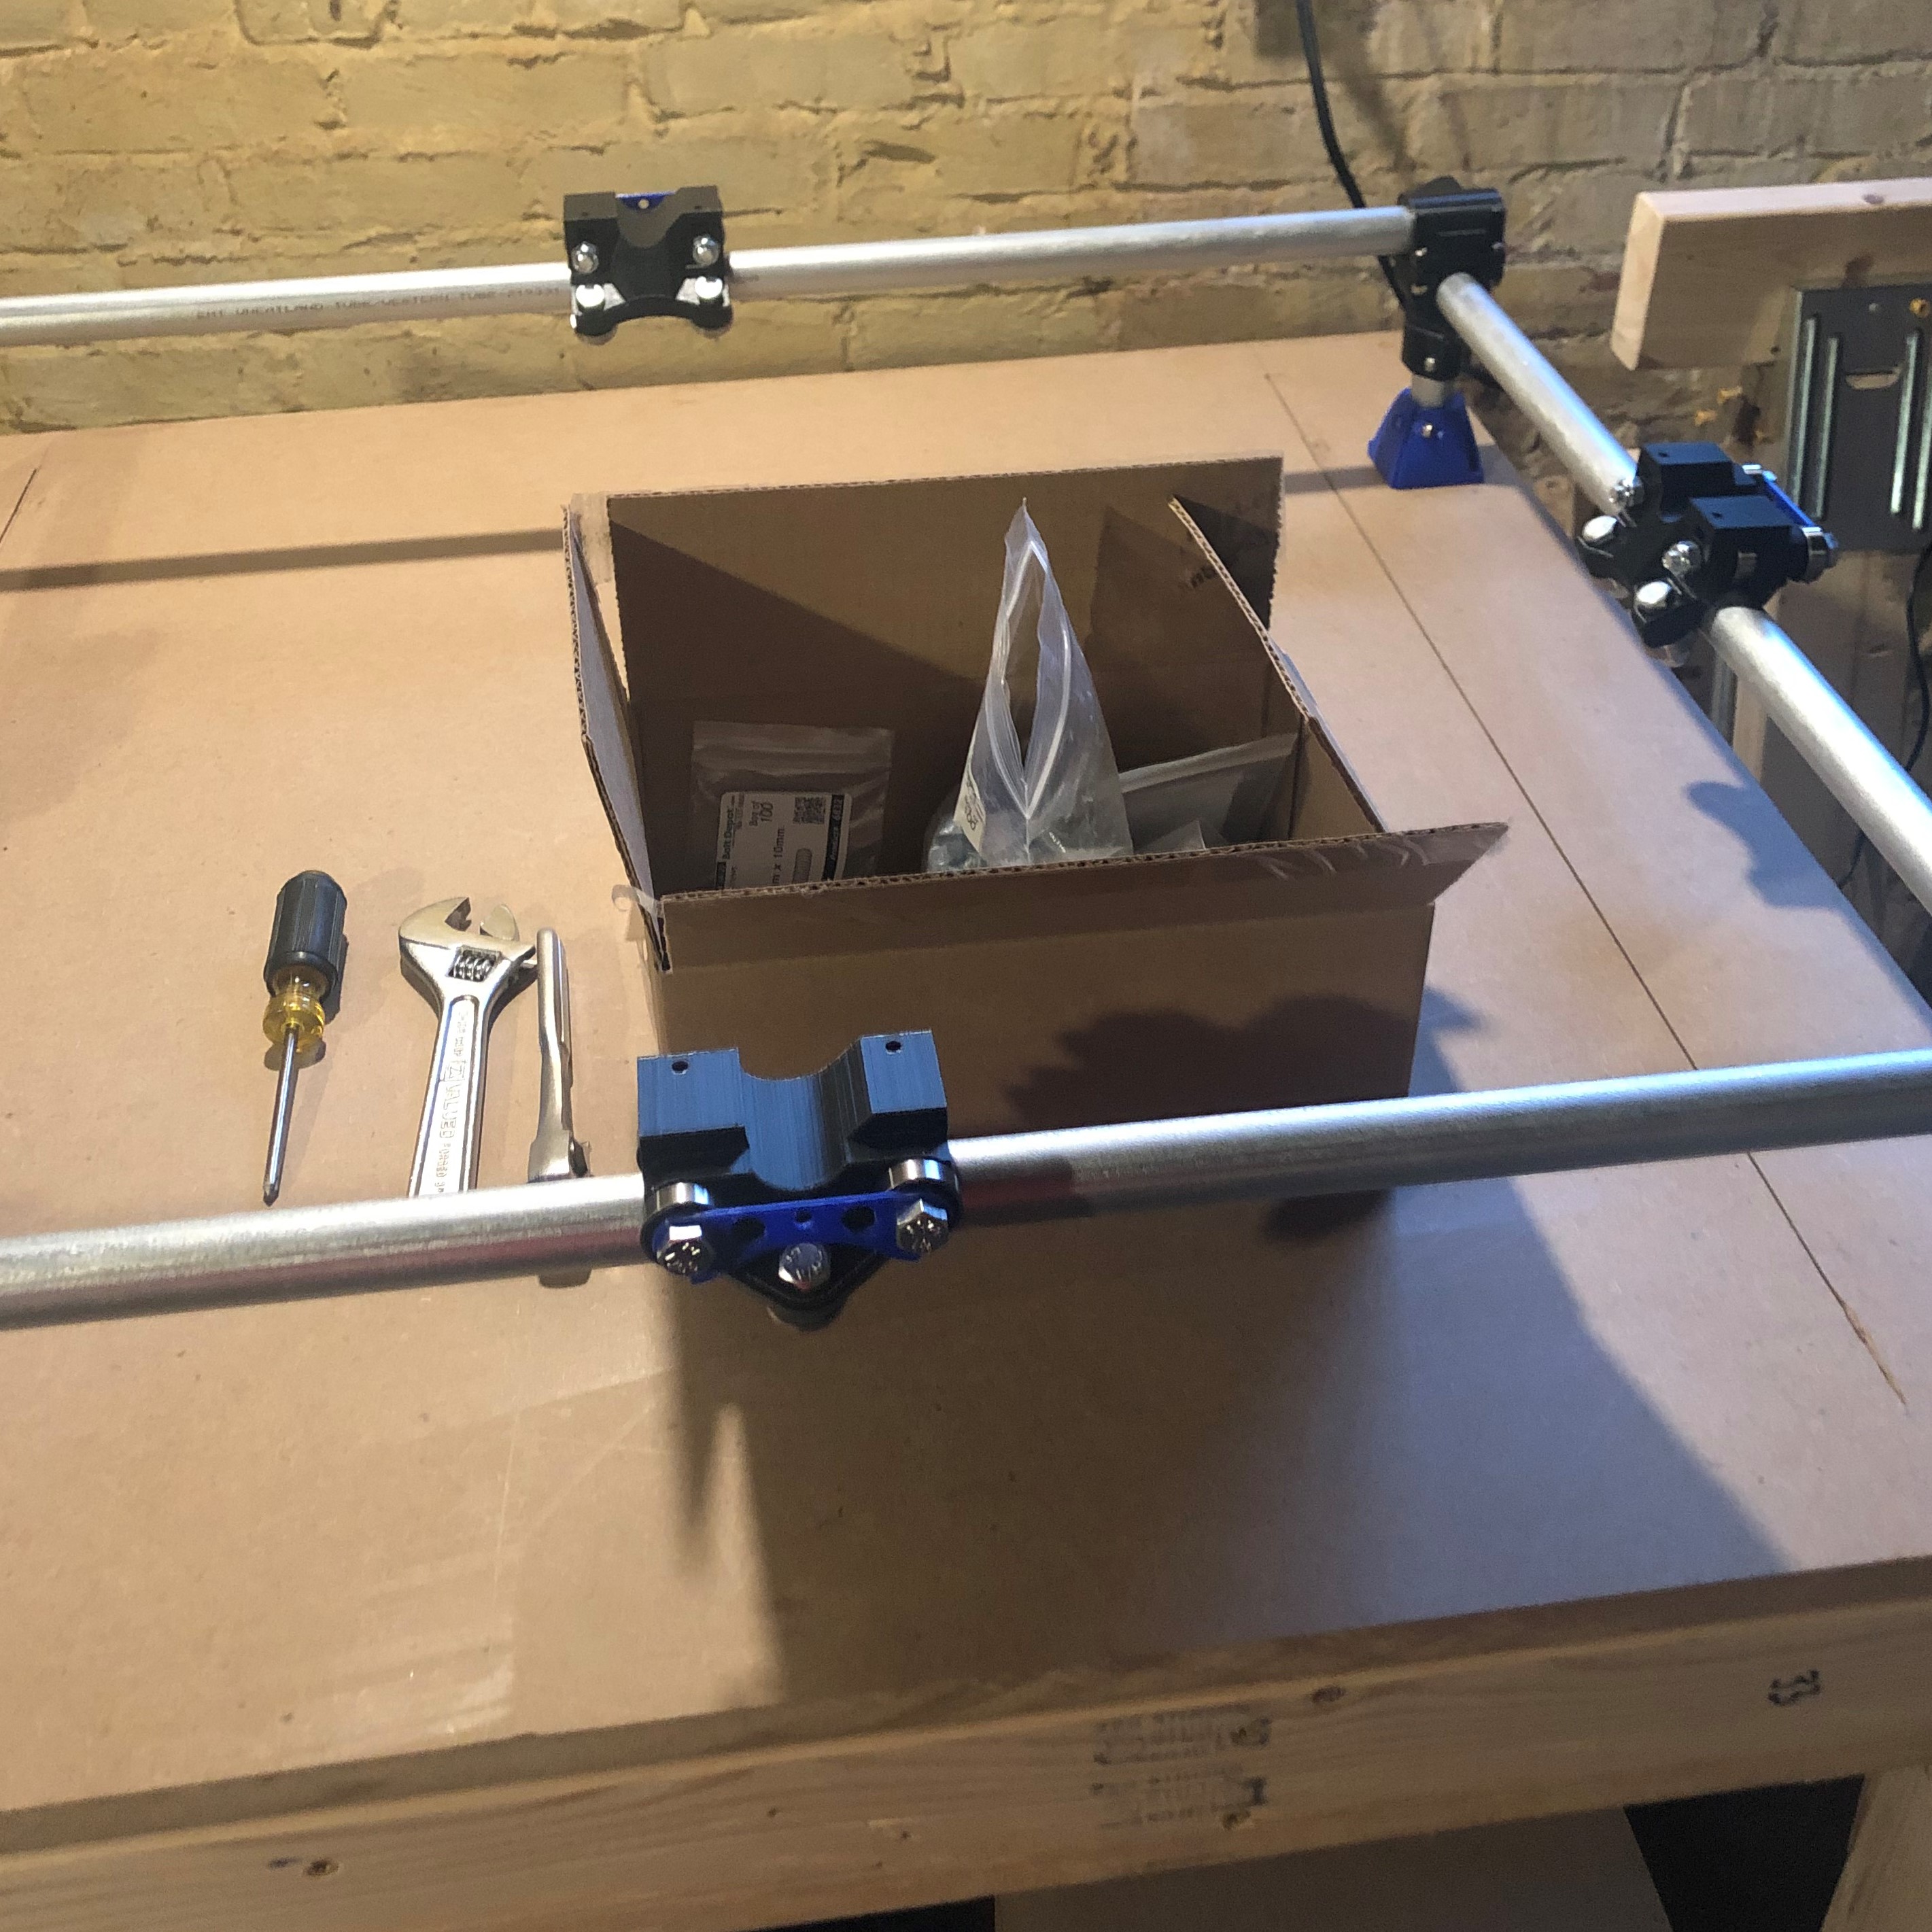
Table with part of the CNC mounted.
There was a slight pause in the project as I had to return to college. More to come!
Update Winter 2020-2021
It’s finished! I certainly could’ve banged this out by the end of the summer, however I enjoyed taking my time with this build (and spending some much needed time with the friends and family I couldn’t see during lock-down) as it has allowed me to think everything through in every step of the process.
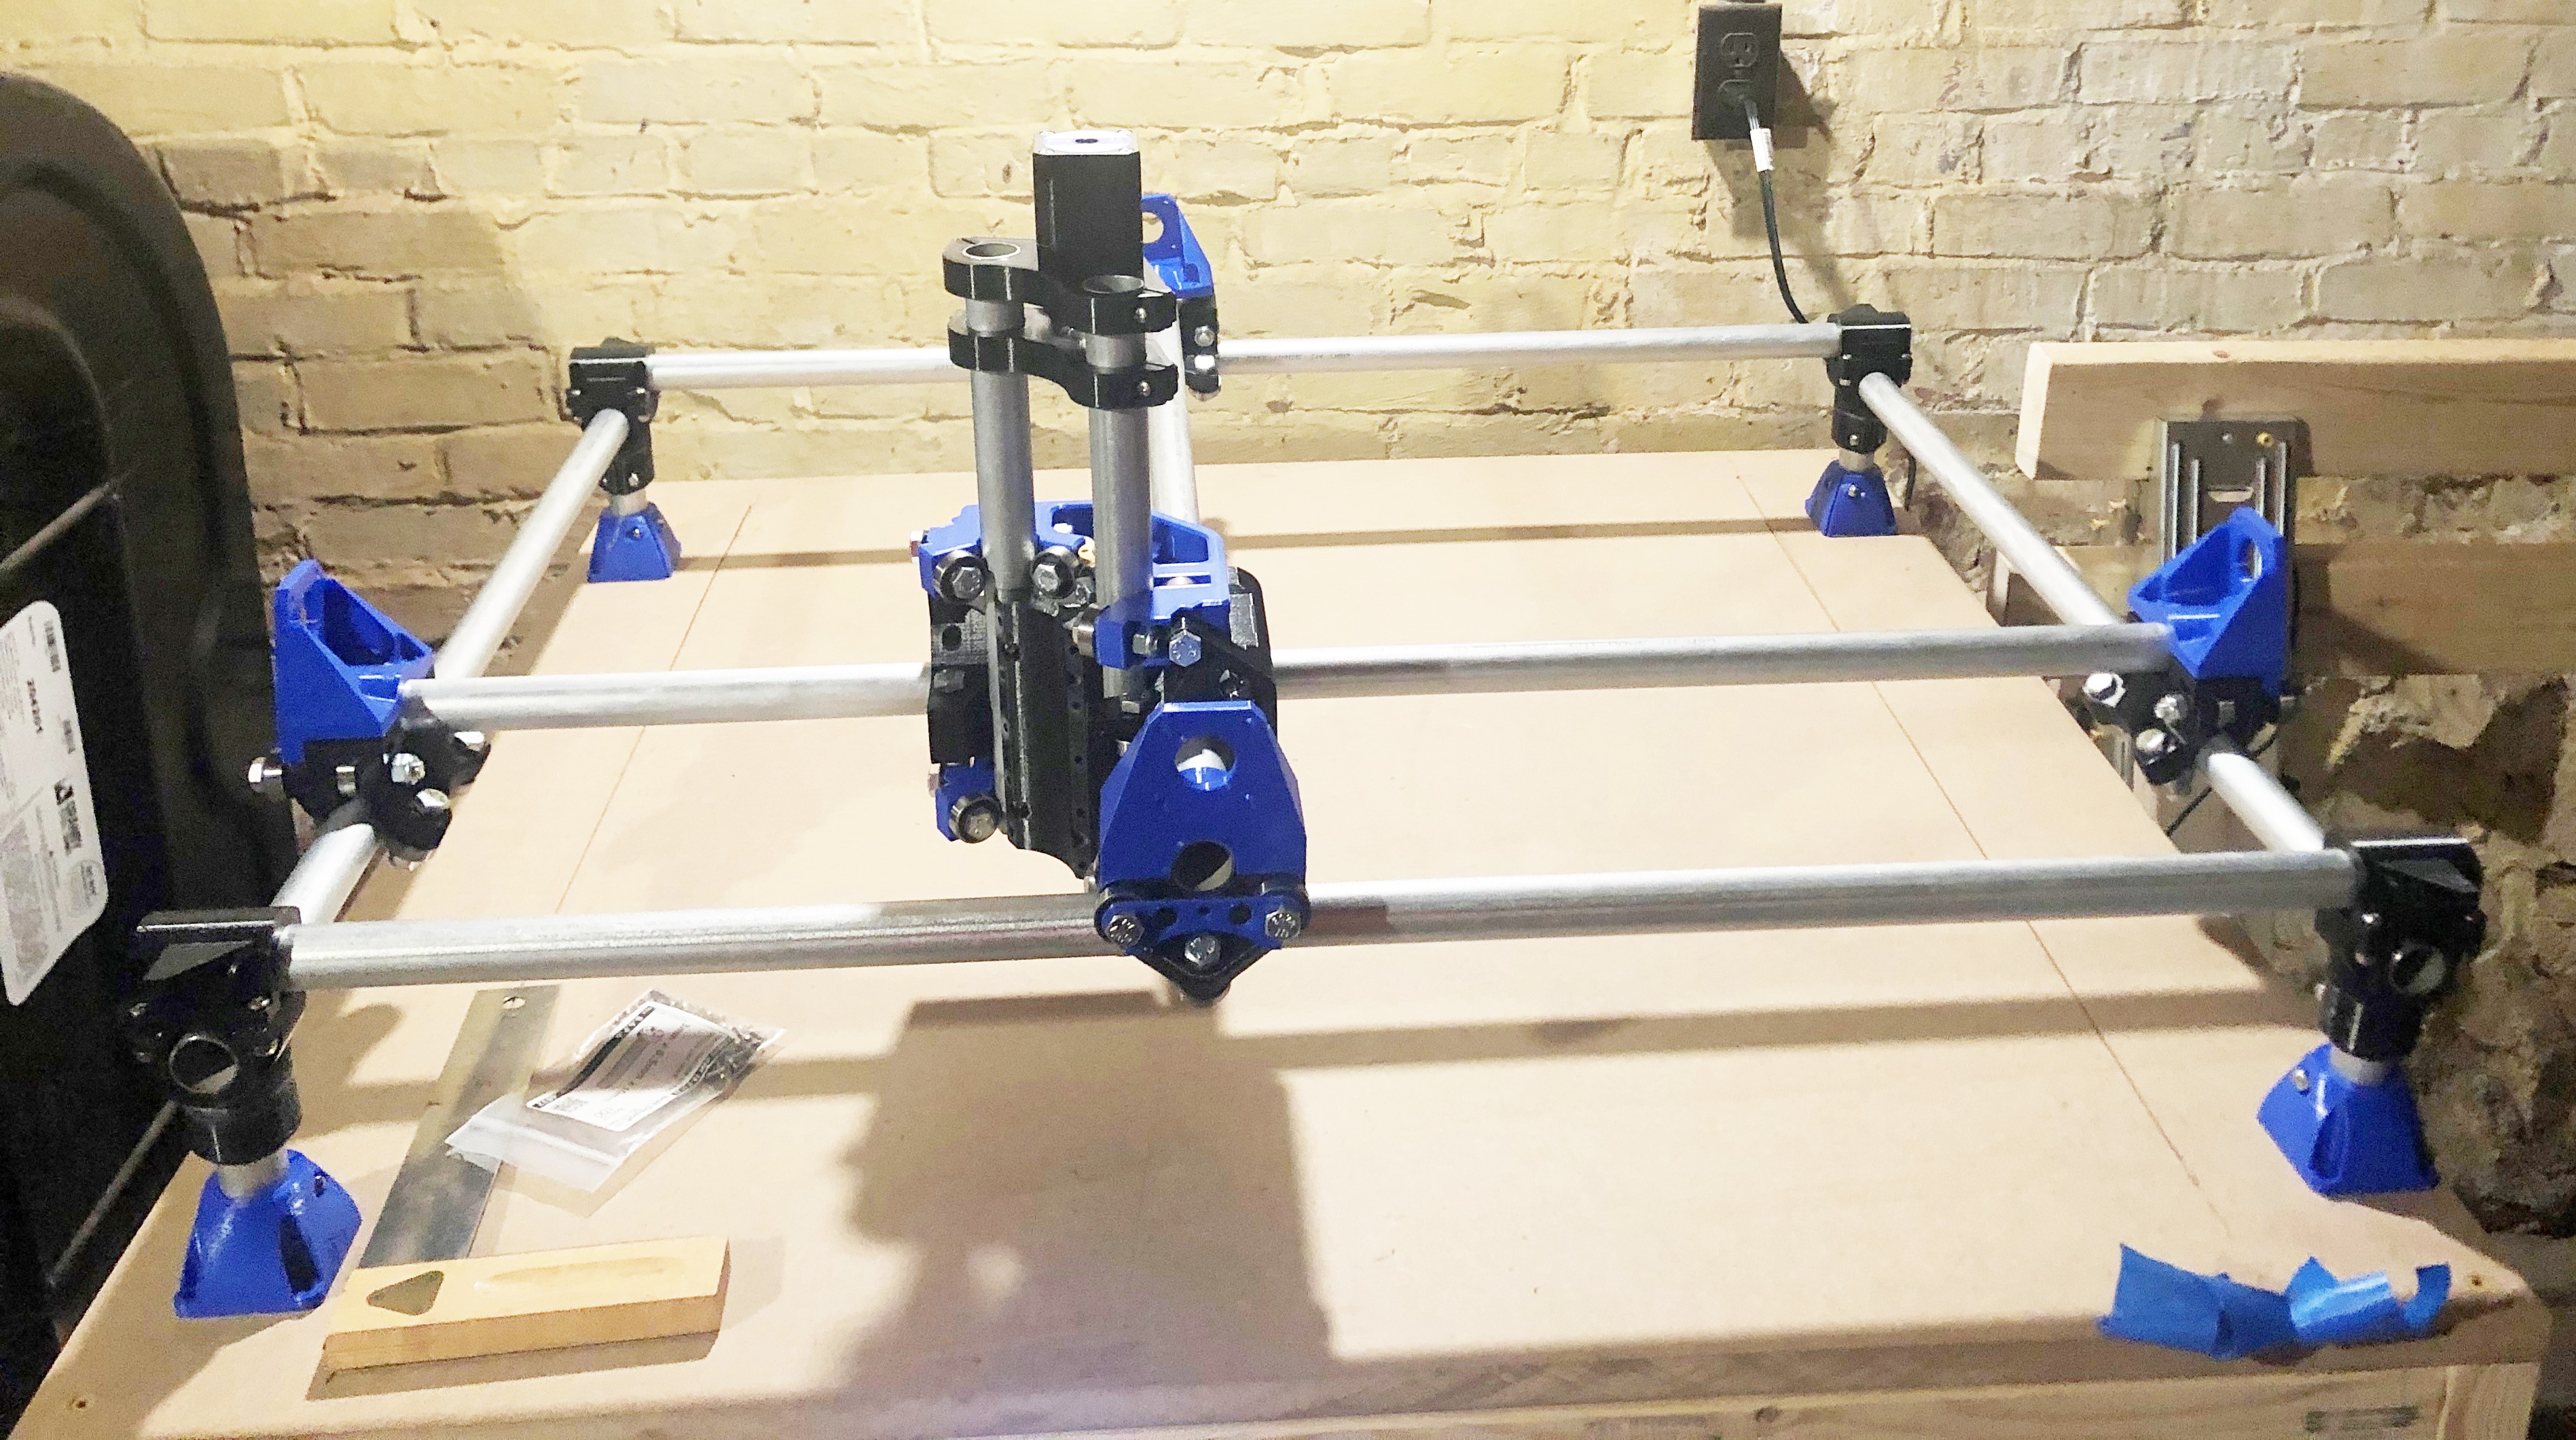
CNC almost assembled! Just need to mount the stepper motors, belts, pulleys, and wiring.
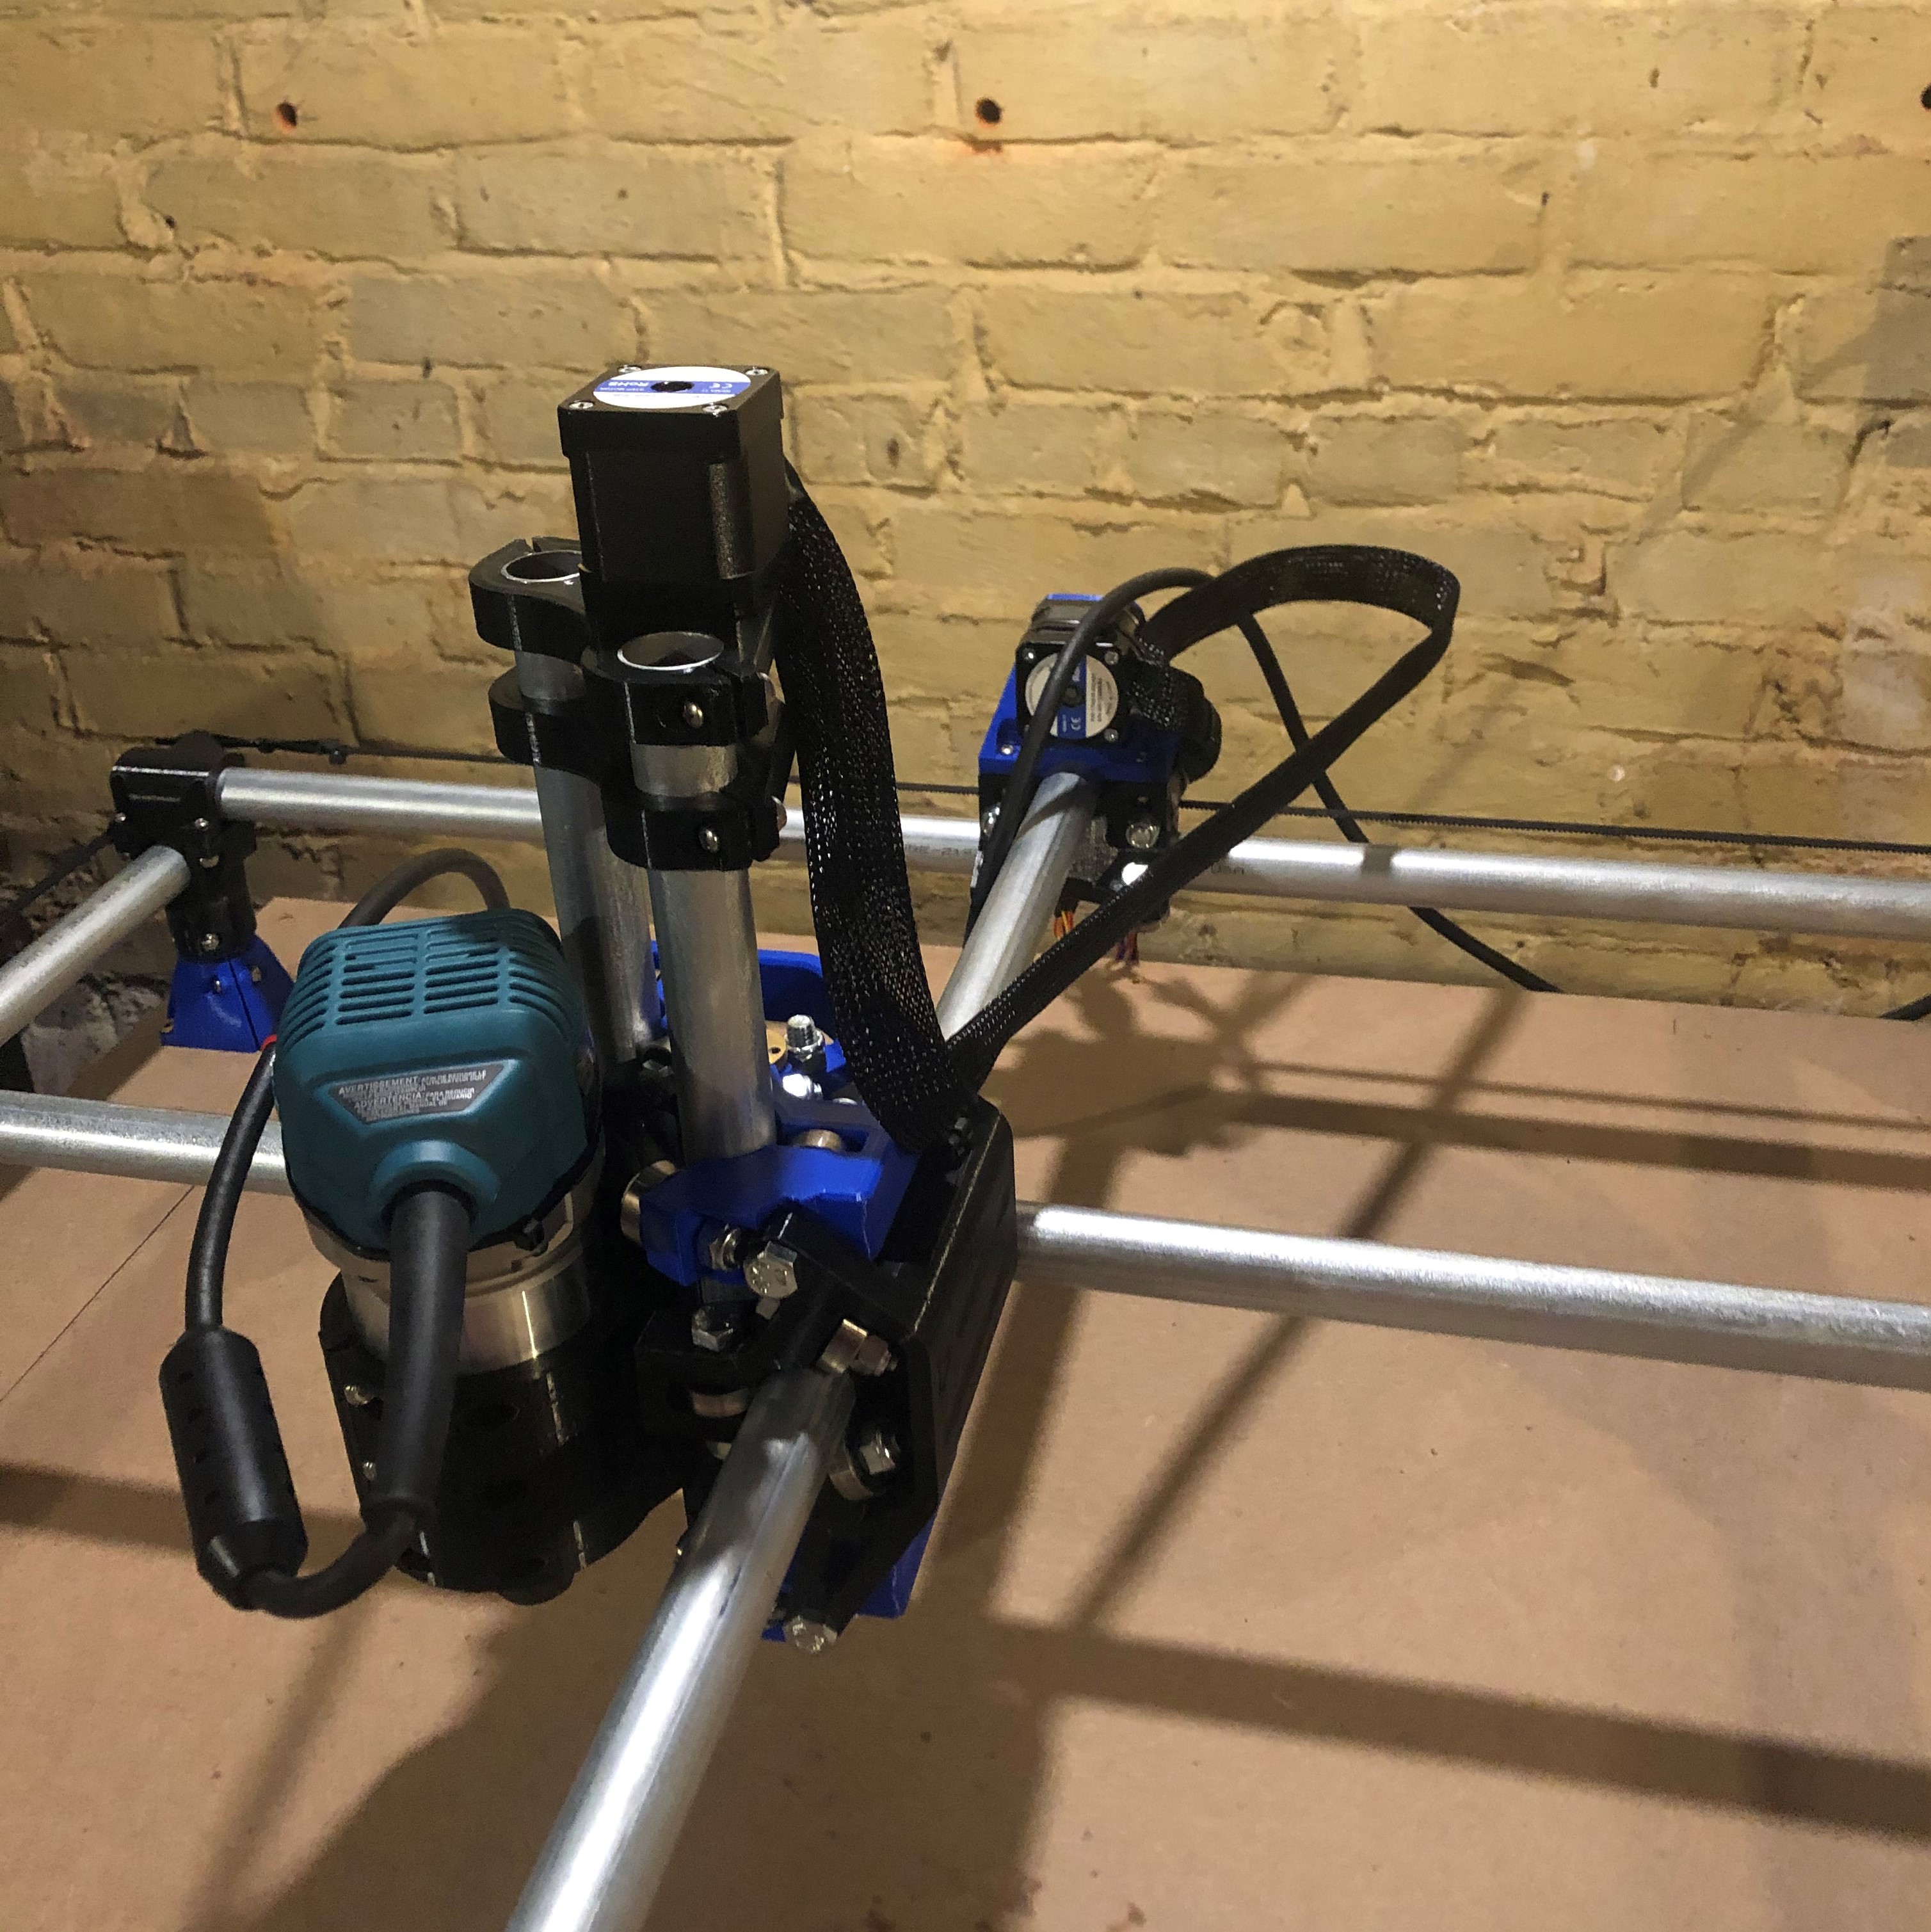
Some wire management, using a cheap tape measure to give some rigidity to the cable harness.
For protection and a cleaner look, I wrapped all the wires in nylon cable sleeving. I also opted to use a different “spindle” than what was recommended from the plans - my Makita compact router is more powerful and has variable speed control, which makes my machine more robust.
Control
The choice of firmware to run on the mainboard to control the CNC router was Marlin. While Marlin is not typically used for CNC machines (it’s predominantly used for 3D printing), it has features that allow it to work, and I was familiar with it since it’s the same firmware on my 3D printer. The other alternative was Grbl, which I may try in the future to see the features it has that Marlin does not. I pulled the latest bugfix version of Marlin from the official GitHub, and tweaked the configuration files. With my particular control board, the BTT SKR V1.4 Turbo, flashing firmware was as easy as compiling it onto a microSD card and then powering up the mainboard. An advantage of running Marlin on this machine is the versatility - it can support many different tools other than a router/spindle, such as lasers, 3D printing hardware, or a drag knife.
Since I did not purchase an LCD screen with an encoder nor a touch screen, there is no means of direct-to-mainboard control on this machine, unlike many 3D printers. Instead, I opted to simply use a serial terminal (such as pronterface, Repetier Host, or even Octoprint) on my old laptop to control the CNC router via USB. These terminals are good for the basic control of any computer-controlled system, like jogging the axes, sending commands, or even starting a program. The downside to this was that many free terminal software that I have tried are quite limited in capability and clearly are designed more for 3D printing. There are several very-capable paid CNC software packages such as Mach3; however, these are expensive and may require different electronics to properly interface with the actuators on the machine. I have settled on Repetier Host since it offers g-code visualization and streams to the machine, as well as axis jogging and zeroing. The zeroing feature is one of the most important parts of this machine’s design as there are no limit switches, thus no “home”. All positions are relative to wherever “home” is set with zeroing, which offers versatility with parts of different sizing and fixture positions.
Usage
I’m still learning the ins-and-outs of the specifics to this machine. I intend to mill woods, plastics, and aluminum. I started off with test cuts in high-density foam and I’ve worked my way up to woods. Despite my experience with professional CNC mills and routers, some things do not translate directly into the usage of this machine. With a professional machine, rigidity while machining is almost always a given, and as such, many of the machines I’ve used already have recommended feeds and speeds with expensive-yet-consistent bits. I have much to learn about the limits of my machine and I fully intend on pushing those!
My general process of operating the machine is much like others: it involves the CAD (Solidworks or Inventor) of the part, then CAM toolpath generation using Inventor CAM and an open-source g-code post-processing template that translates the instructions specific to my firmware. Next, I set up the machine by fixturing the stock on the work surface and zeroing the head at the origin defined for the part. Lastly, cut some chips!
Future Directions
Like with many of my projects, nothing is ever truly “done.” I enjoy experimenting and upgrading my creations to the best they can be and to adapt to new features that I might want.
Here are a few of my ideas heading forward for my CNC router:
- Cleaner cabling and finishing touches
- Dust collection/chip evacuation system
- Explore new control software with more features and capabilities
- Stainless steel rails for more rigidity
- Independent gantry squaring with limit switches (currently the dual motors for the X and Y axis run in parallel - no independent control of individual motors)
- Explore different tooling, such as a print head for a giant 3D printer or a laser engraver
Total Cost: $600+